making 18th century slops
date published : 04/22/2026
recently i made a pair of petticoat breeches, aka slops alongside my partner. there isn't much in the way of posts online about constructing them, especially not the later (18th c-ish) variants. they're a more obscure garment and few extant examples seem to survive past their peak in the mid-1600s (when they were fuller, shorter, and more ornate). in the mid-to-late 1700s, they were very associated with seamen and our idea of what they looked like comes seemingly exclusively from artwork depicting sailors.
that being said, this was not a particularly historically rigorous project for me and so i won't be diving deeply into the historicity of my pair. i wanted a pair of pants i could throw on over nicer ones for my pottery studio days - the purpose of slops was to protect breeches from dirt, after all! while mine are technically able to do that, they're also really pretty so i probably won't actually be trying to get them dirty.
for patterning, these are about as easy as it gets. like a lot of historical garments the pattern pieces are all derived from very simple rectangles and drawing up a proper pattern is more trouble than it's worth. mine consisted of four rectangles: two waistband pieces that were roughly half my waist measurement in length and double the intended width of the final waistband, and two leg pieces which were as long as the outseam and as wide as i could get out of my fabric. i then cut a rather deep crotch curve into both the front and back side of each leg piece. there's not a huge need to have a distinct front or back crotch curve - these are not tight-fitting pants, and the 17th c pattern i was referencing (page 32-33 in The Cut of Men's Clothes: 1600-1900 by Norah Waugh, which is unfortunately out of print nowadays) barely differentiates the crotch curves. i still used a front and back, but mostly because my partner had already drafted distinct crotch curves for its slops.
for fabric, i went with a very cute checked cotton from my partner's stash. it's definitely more of a top-weight than bottom-weight fabric, but it felt sturdy enough not to shred and most of the slops will experience fairly little stress. cotton of course is not a particularly historically accurate choice considering that i mostly focus on european historical garments (where linen is much more common), especially not in a bright blue and pink check, but there's nothing i love more than a fabric i already have for a project!
as for the cutting, i have a rather large waistline and thus decided to use the length of the fabric rather than the width for the width of my pants (so as to have more excess fabric to pleat up). a thinner person can definitely use the width of a 60" wide fabric and have plenty of room for pleats - my partner did this for both of its slops and it looks great! but i am fat and i wanted to have really voluminous pleats, so i needed more width despite using 60" fabric. i drew threads to mark my cutting lines, which results in perfectly straight edges. this had a bit of a pattern-matching effect on my checked fabric; while it's not actually matched, the stripes line up perfectly and it looks like i pattern matched it unless you look quite closely. i have no patience for actual pattern matching most of the time, so this was a lovely surprise! i also used one of the selvages for the bottom edge of the leg pieces. i ended up hemming them anyways as this fabric has an unsightly selvage, but it still saved me some labor.
i jumped around a lot in my construction of the slops. i chose to sew mine by hand, while my partner adapted the construction of its to be machine-sewn as it was aiming for a more modern version (with actual pockets and a zippered fly). i started off by folding my waistband pieces in half along the short axis (aka hot dog style), right sides together and then sewed up the edges, leaving a small gap to turn the waistband pieces right side out.
after finishing the waistband pieces and giving them a press, i hemmed the leg pieces by simply turning up the selvage and whipping it down (being careful to only pick up one thread from the fabric so my stitches would be hardly noticeable). i then finished the top edge of the leg pieces by turning them in and covering the raw edge with twill tape, which also serves to reinforce the pleating and add some structure to the pretty flimsy fabric.
the manner of pleating on petticoat breeches is a tricky thing to discern; on many artistic depictions the waistline of the breeches is so obscured that you cannot even see that they're pleated at all, let alone how. from a quick glance through artwork it seems to me that most drawings show cartridge pleating on slops (when pleating is visible), but of course there are also paintings that clearly depict knife pleats. in my cursory browsing i saw 17th century examples of both cartridge and knife pleating, so you're probably justified in choosing either of the two. cartridge pleats read so historically to the modern eye and i adore the volume they create, so whenever i have the excuse to use them i will (also, they require basically no math, which is definitely a plus).
this is not a tutorial so i won't really be covering cartridge pleating in depth. my approach for these slops was to use two lines of roughly inch-long stitches in linen thread that i pulled until the waistline of the leg piece matched half my waist measurement. i then knotted the thread securely (the gathering thread stays in when you sew cartridge pleats) and arranged the gathers to form neat inch-deep pleats. the waist of the leg pieces were then sewn to the waistband, using whipstitches. each pleat got multiple stitches securing it to the waistband. importantly, i wanted to have some overlap in the front of the waistband for buttons, so i started attaching the waistband of each side from the center back and worked forwards.
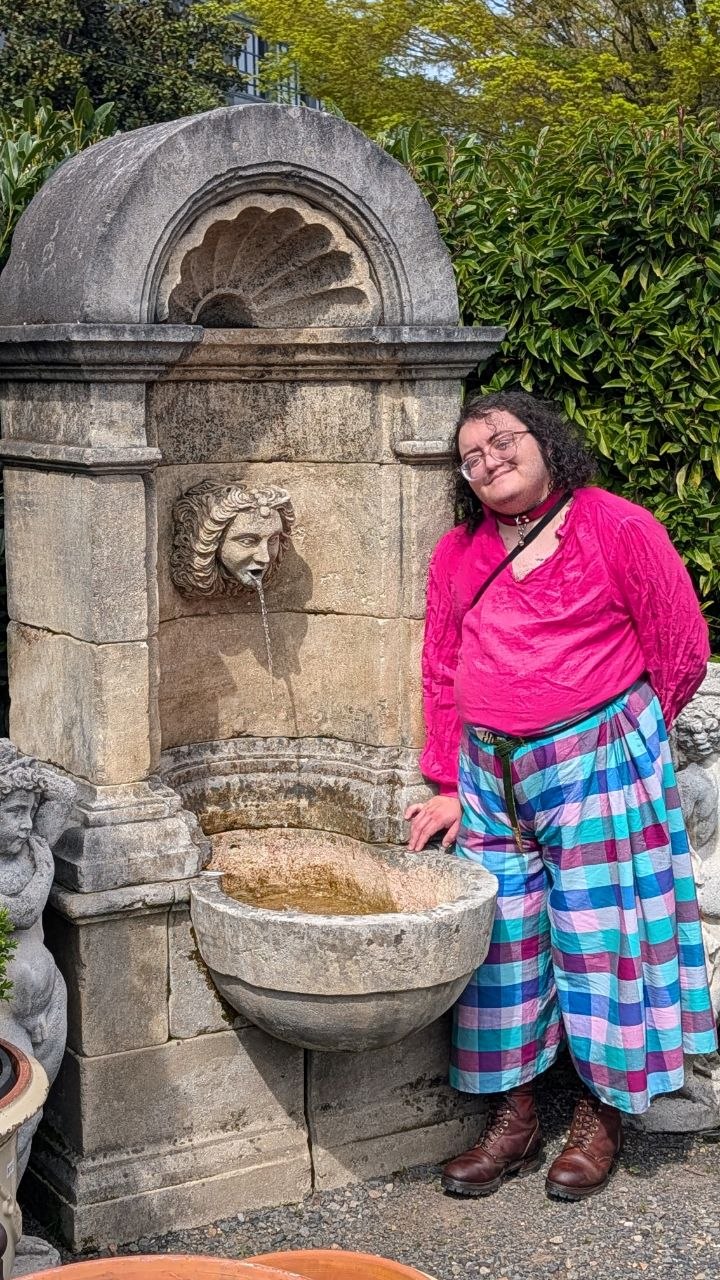
after that i sewed up the back crotch seam partially before realizing if i wanted to do any sort of fit test, i needed to install the lacing in the back. so i switched gears and sewed up some eyelet holes by hand (three on each side) and used some leather lace to tie the back together. i could see my back seam needed more closing up, so i did that and felled the seam allowances down to either side. i then basted up the front crotch seam and inseam so i could get a gauge on how much of the front crotch needed to be left open so i could get the pants off and on. because of how squishy my body is, that turned out to only be an inch, so i sewed the front crotch seam mostly closed and then finished the edges in the same way as the back crotch seam. then came sewing the inseam and felling down the allowances there.
i had a bit of difficulty with the front closure. my partner suggested primarily relying on hooks and eyes, with buttons more for decoration than anything else. i struggled through placing the hook and eye closures (i always put the hooks on the wrong side the first time i sew them during a project), and then was met with some aesthetic decisions. i had bought some very cute buttons from my local indie fabric store (the lovely Bolt PDX) that have a neat oil-slick effect to them, but using just one of those decidedly normal-sized buttons left an awkward amount of negative space. using two also had an awkward spacing somehow. i could just barely space them in a way that satisfied me, but it still didn't look quite right. i complained about it and my partner ran off and grabbed a giant ceramic statement button that felt perfect. i stitched it on with sashiko thread for as much strength as possible and then sewed the largest buttonhole of my life.
the last thing i planned on sewing were pocket slits (openings to access separate pockets). i wanted to wait until the slops were pretty much done to add them so i could place them properly. i marked the placement for the slits while wearing the slops over some shorts, and then used embroidery scissors to cut it open. i finished the slits with a tiny felled hem and reinforced the top and bottom of each with buttonhole stitching.
and then the slops were done! or so i thought, until i wore them a bit. wear stretched the waistband and made it not fit very well, so i added a second pair of hooks and eyes as a fit adjustment, which caused some unsightly gaping at the waist. i had been debating interfacing the waistband before and decided that it would probably help. so i went back to Bolt (wearing the mostly-finished slops, which got complimented!) and got some buckram to sew into the waistband.
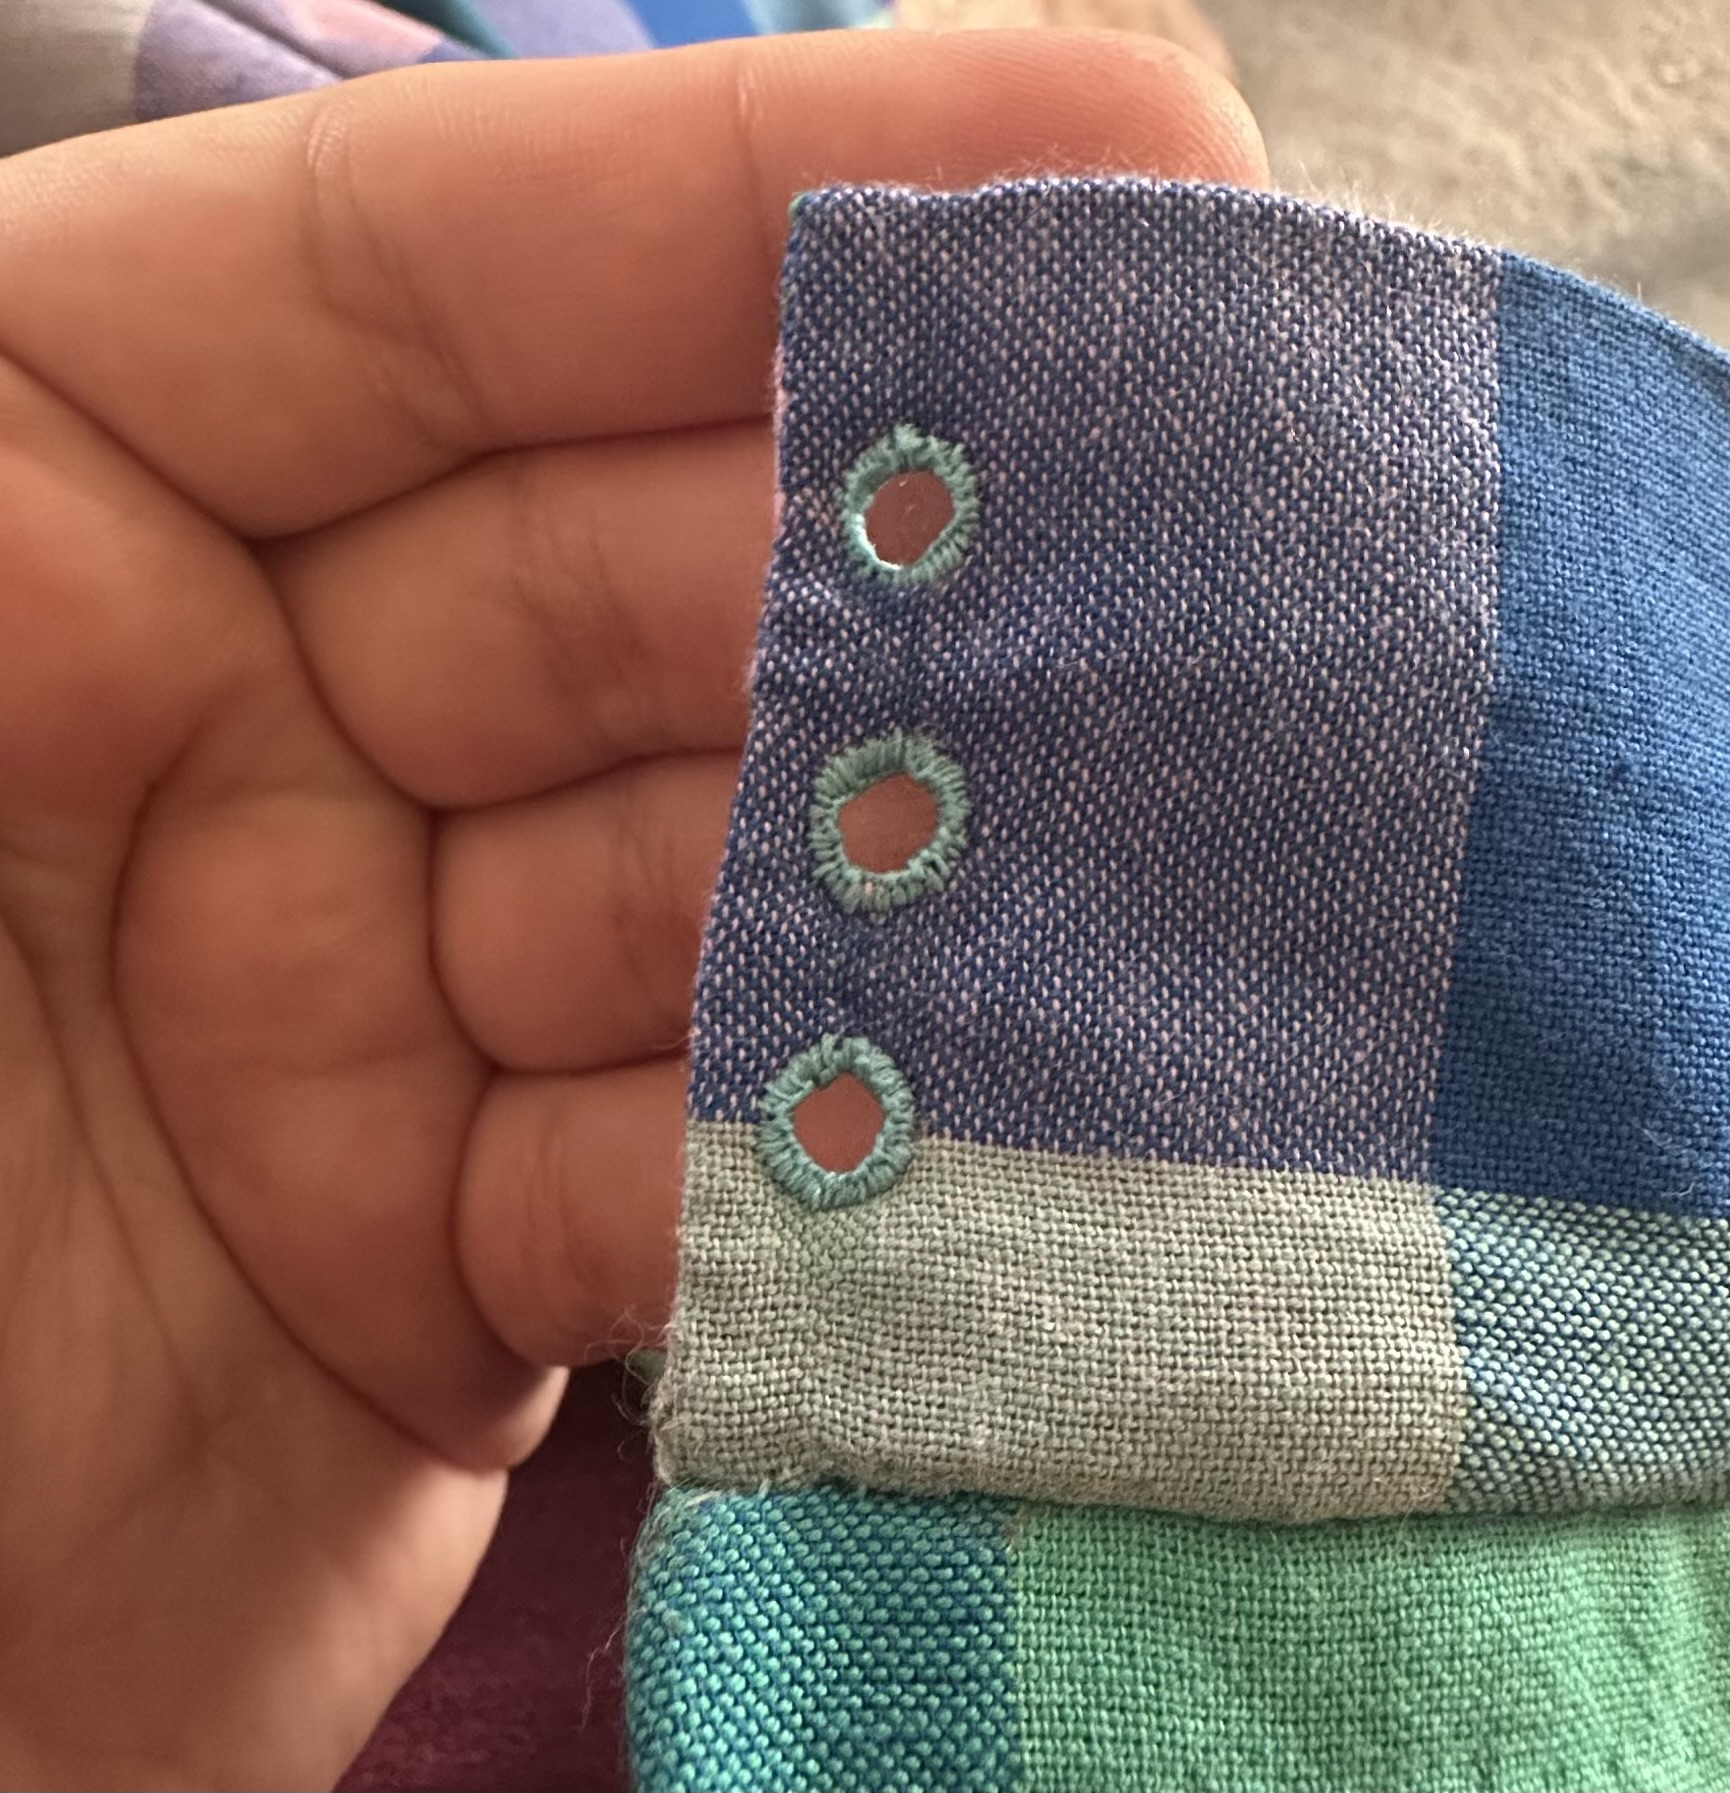
i could've just tacked the buckram down like a normal person and called it a day, but i instead took it as an opportunity to practice pad stitching and see if i could give the waistband some shaping. i've shied away from tailoring and its techniques for a long time. it used to intimidate the hell out of me, but as i've grown as a sewist and learned i really prefer hand sewing (which a decent chunk of tailoring techniques require) it's become more exciting. was this very extra? yes. it also made installing the interfacing take four times as long as it otherwise would've. but it was fun and great practice! and now i have some cool construction details to show people beyond "look at how tiny of a fell you can get with hand sewing!"
interfacing the waistband did counteract the stretching, and now i have a gorgeous crisp waistband. i was really struck by how solidly the pad stitching holds the outer layer of waistband fabric in place - i was avoiding picking that layer up as i stitched so that my stitches wouldn't be visible, but evidently i managed to consistently catch enough tiny fibers that the outer fabric is still held in place. it's a really neat effect! if i ever make a second pair i would still add more negative ease to the waistband. my waistline varies quite a bit day to day and even throughout the day due to bloating, and i think i fit these when i was more bloated. since there's lacing in the back, it's actually much easier to let the waistband out than to take it in past a certain point, so i'd recommend erring on the smaller side if your body also fluctuates.
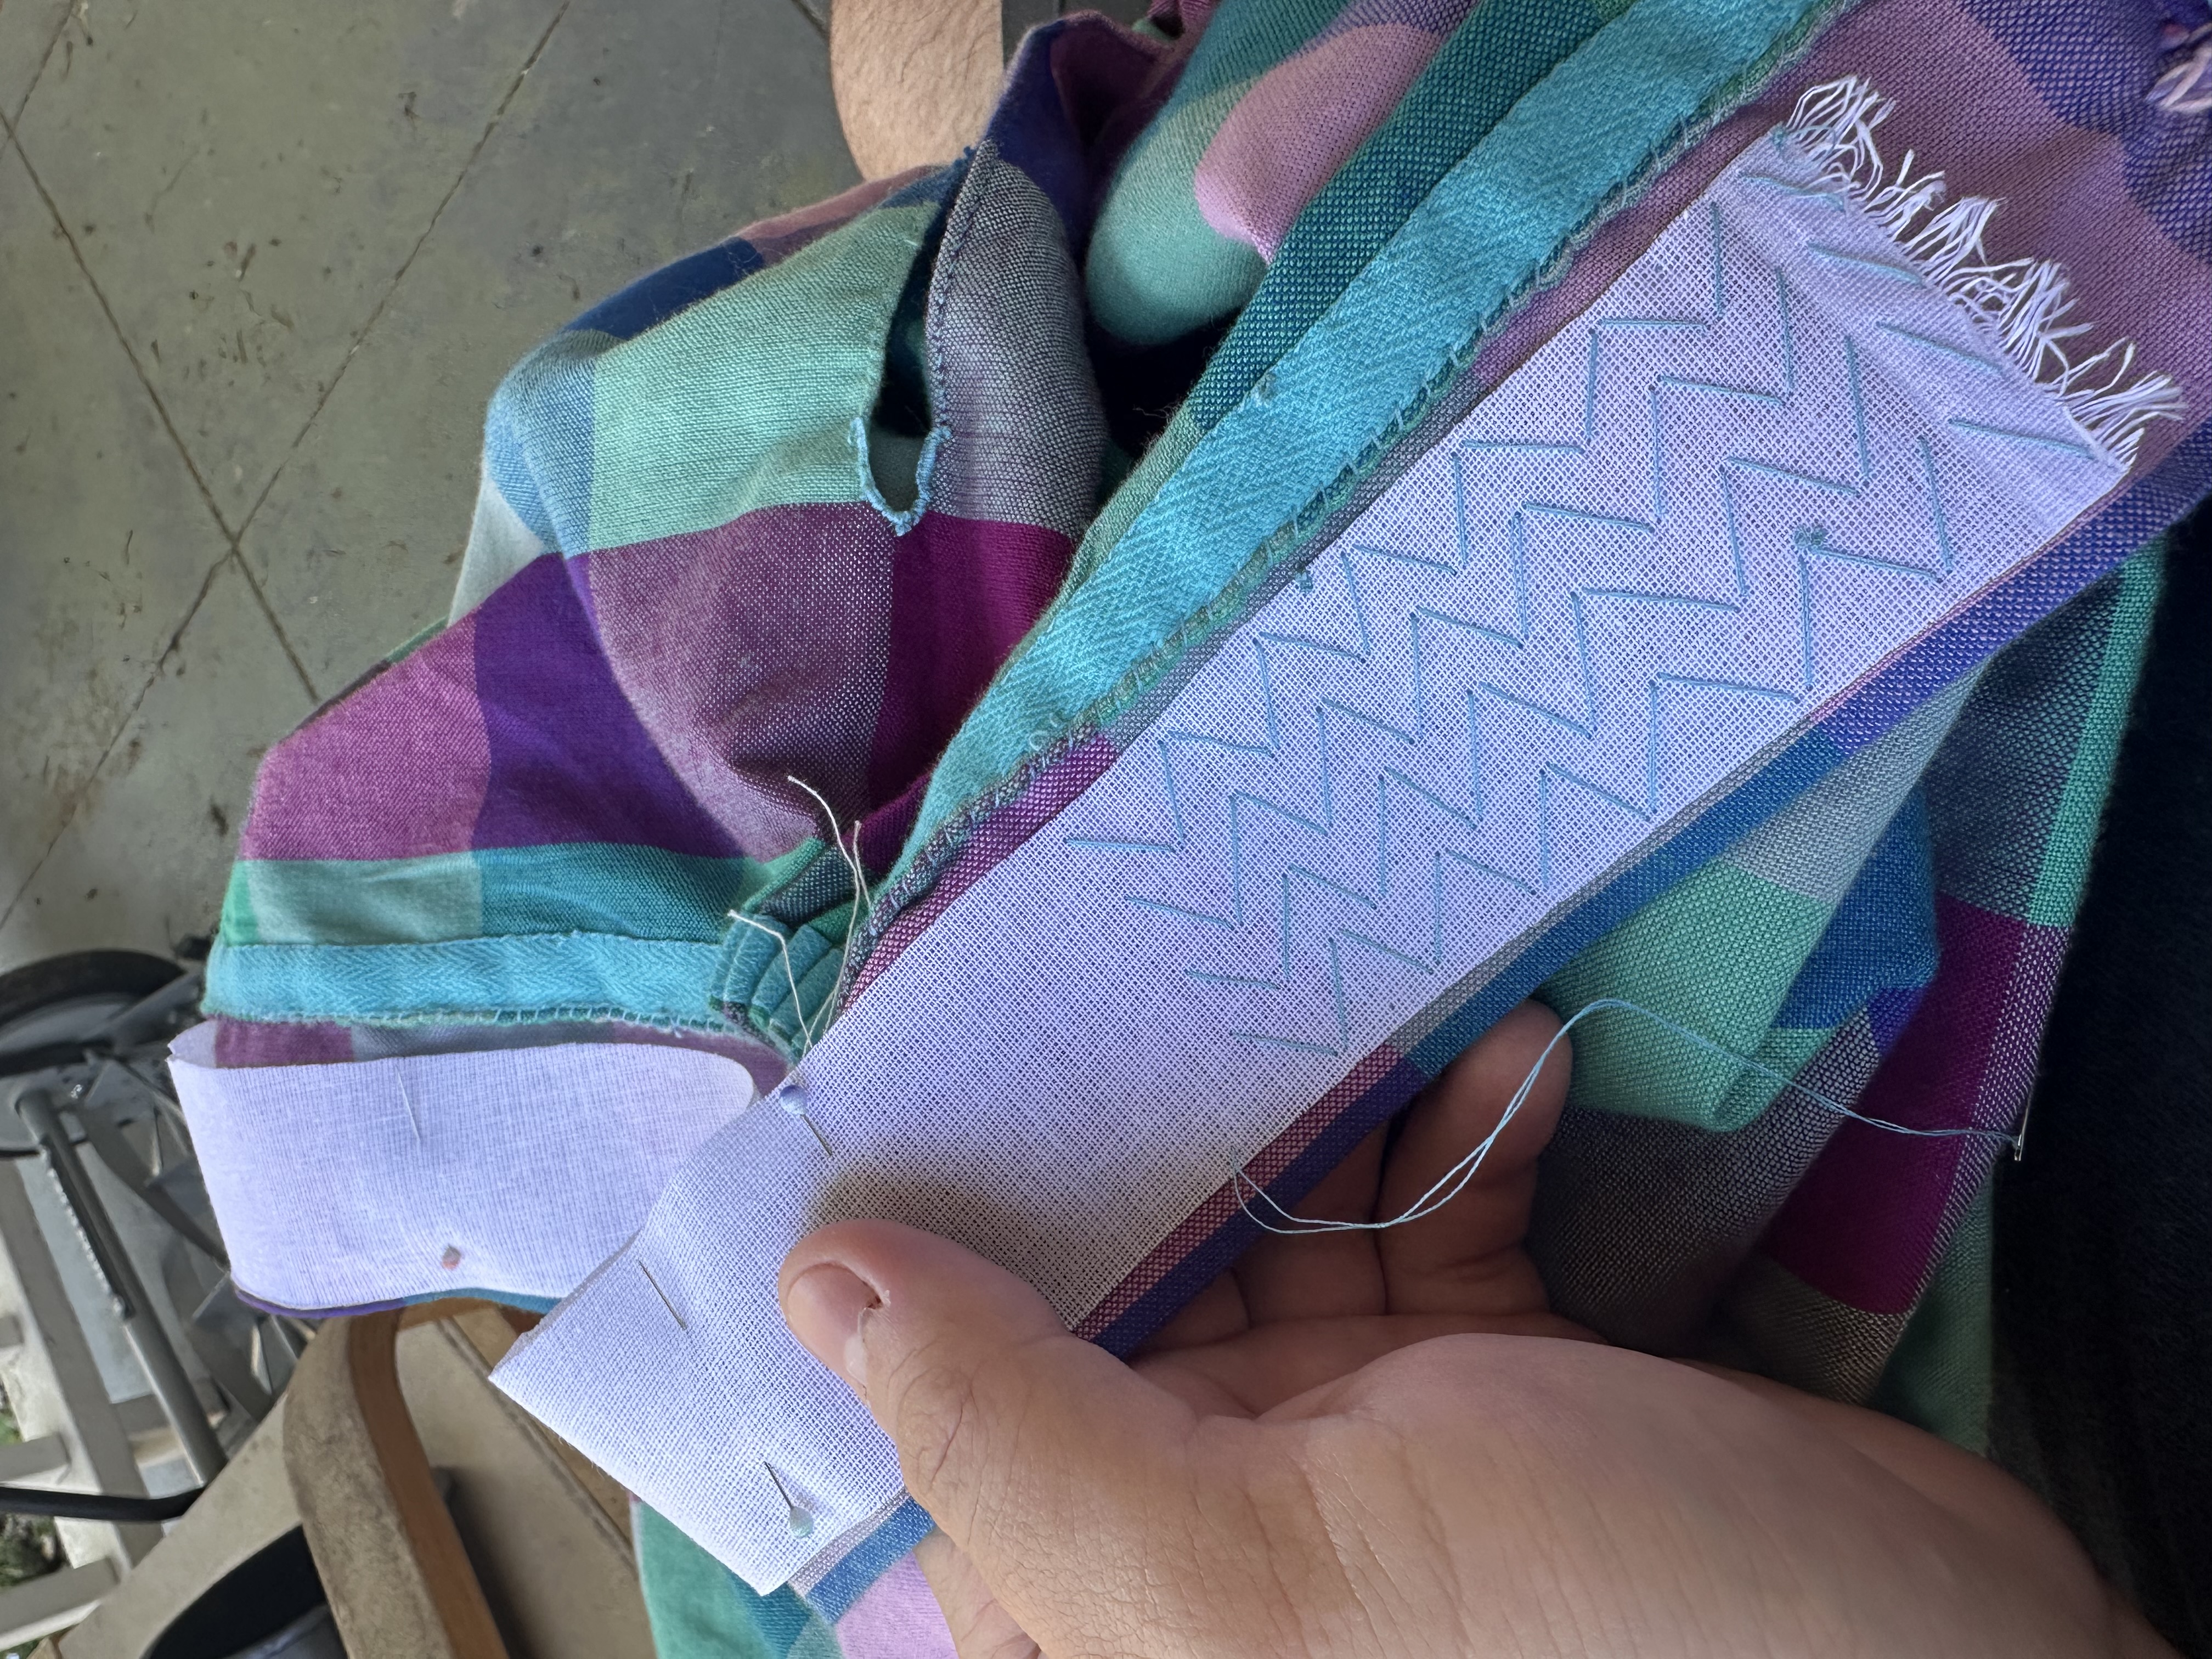
i've only worn the slops a little bit since finishing them. i wore them on a day out so that i could get pictures at the antique reproduction garden store, and we stopped at a lot of other places too: Bolt, a couple of yarn stores, a pizza place, and a pop-up clothing sale. at almost every stop, someone complimented me on them. at Bolt, someone stopped to gush over them and try and guess what fabric i used (they were there for supplies for historical pockets, which are my next project). the staff at the yarn stores were taken by them. i thought this was just the appreciation of crafty people - i usually get complimented on some aspect of my outfit at craft stores. but then as we were walking to the pizza place a girl rolled down her car window to shout that she loved my outfit. on the way back some cyclists complimented me as they passed by, too. these get such a lovely response from people; there's something about the silhouette that seems to excite everyone just as much as it excites me! my main gripe with this pair is that i can't wear them while cycling as the hem is too low and loose and would get caught on the pedals. i have half a mind to make a shorter pair for summer and biking now that i have the construction down.
future projects and miscellaneous notes
something i found interesting about my partner's machine-sewn pair is how its adaptation of the pattern changed the silhouette. since cartridge pleating can only be sewn by hand, it opted for knife pleats. this makes its slops look a lot more like modernized hakama (to me at least) and it gives them a very different feel. it also used a quite understated slate gray bottom-weight fabric with a crisp hand. i'm very fond of the impression that the more subtle and structured fabric gives to its slops and will probably try a similar fabric if i make those slop shorts.
i'm currently working on a pair of historically inspired pockets to wear under the slops when i don't want to wear shorts underneath. i've made some quilted 18th c pockets before using my antique treadle-powered sewing machine, but the current pair is taking a lot longer because i'm embroidering them quite a bit. i'll probably be writing a post about the pockets once they're done, so keep an eye out for that.
i also just wrapped up an 8-week ceramics class session - my second in the past year. since i left seattle, i had to find a new studio, and there were more differences than i expected. i'm waiting on the final firing at the moment, and once i have my pieces back i'm planning on talking a bit more about the experience of moving studios.
if any of my future posting plans interest you and you use an rss reader, consider subscribing to my rss feed! i snuck it into a website update a while ago and haven't mentioned it until now (oops) but all my previous and future posts will also be available there.